Repasting an NVIDIA Tesla M40, and why you should
A step-by-step walkthrough of replacing the thermal paste and pads on an NVIDIA Tesla M40, the cheap 24 GB eBay card the local-LLM crowd are snapping up, and the first job most of them should do before running it hard.
If you've just picked up a Tesla M40 for home-lab or local-LLM work, you've also just picked up a card whose factory thermal interface is around a decade old. The paste on the GPU die is cracked, pumped-out, or both. The thermal pads over the memory and VRMs have gone hard and started to lose contact. Before you load that card up with a 24 GB model and wonder why it's thermal-throttling, put an hour aside and do a thermal service.
Everything below is what we actually did on the bench on one of these cards.
Why it matters
The M40 is a Maxwell-generation compute card with 24 GB of GDDR5 and a passive cooler, which means every watt it dissipates has to make it cleanly from the die and memory into the heatsink, and from the heatsink into whatever airflow you've arranged around it. Two things break that chain on old datacentre cards:
- GPU paste pumps out. Factory paste on these cards is usually a standard grey TIM that dries and migrates outward from the die over years of heat cycles. You end up with a thin, cracked layer that isn't transferring heat properly anywhere near the centre.
- Thermal pads harden. The silicone pads on the memory and VRMs lose their give. If they've been compressed for eight years they won't recover, and the gap between chip and heatsink is no longer fully filled.
The fix is mechanical: open the card, strip the old TIM off, replace it with modern paste and correctly-sized pads, reassemble to torque, and bench-test.
What you need
- Phillips #1 and #0 screwdrivers
- A plastic prying tool or old guitar pick
- Isopropyl alcohol (99% if you can get it) and lint-free wipes
- A tube of Arctic MX-4 thermal paste (or equivalent non-conductive paste)
- A set of thermal pads, measure the originals with calipers first and order matching thicknesses (typically in the 1–2 mm range at varying widths)
- Somewhere clean, bright and antistatic to work on
The card, as it arrives
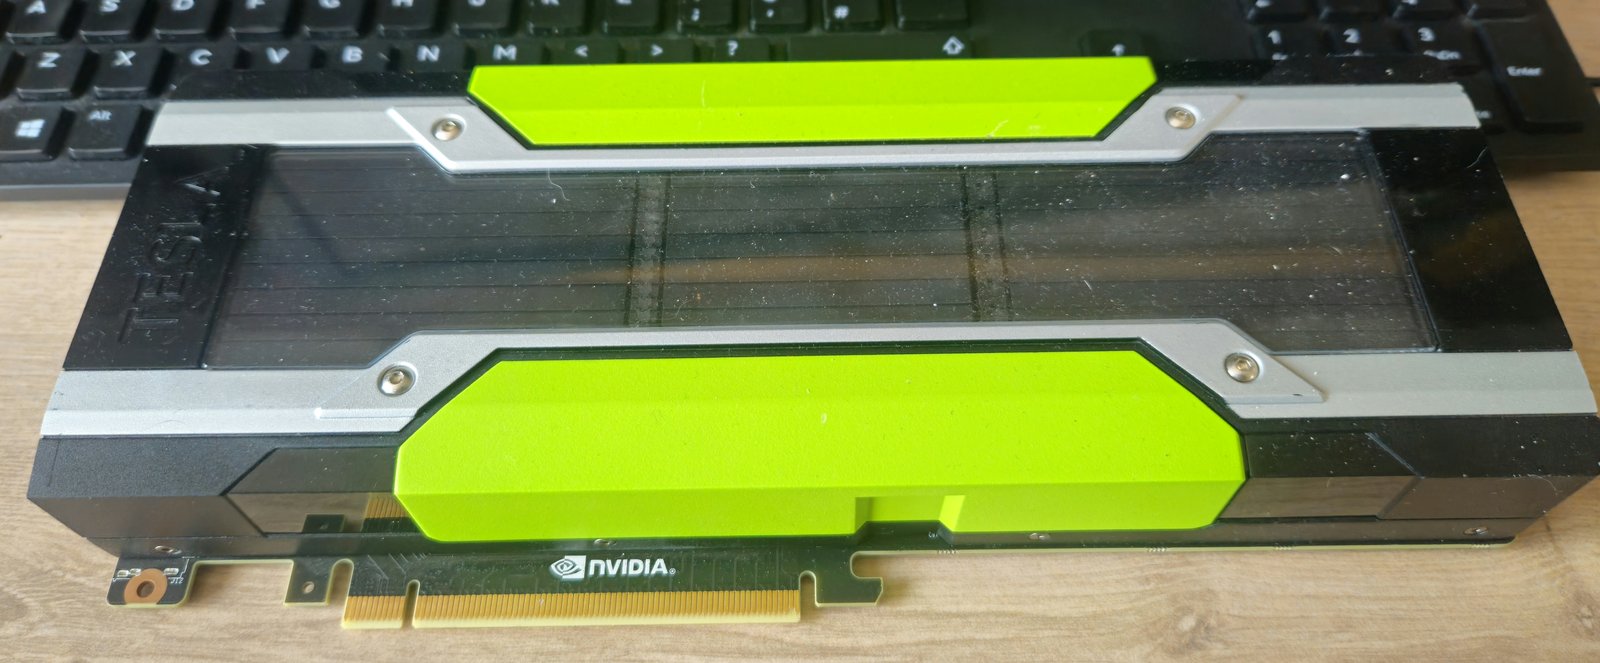
The card fully assembled. You're looking at a passively-cooled compute card: the bright green plastic is just a shroud over the heatsink fins. There's no fan on these from the factory, they were designed for datacentre chassis with serious through-flow, so if you're running one on a workbench or in a home tower, you'll need to arrange airflow yourself.
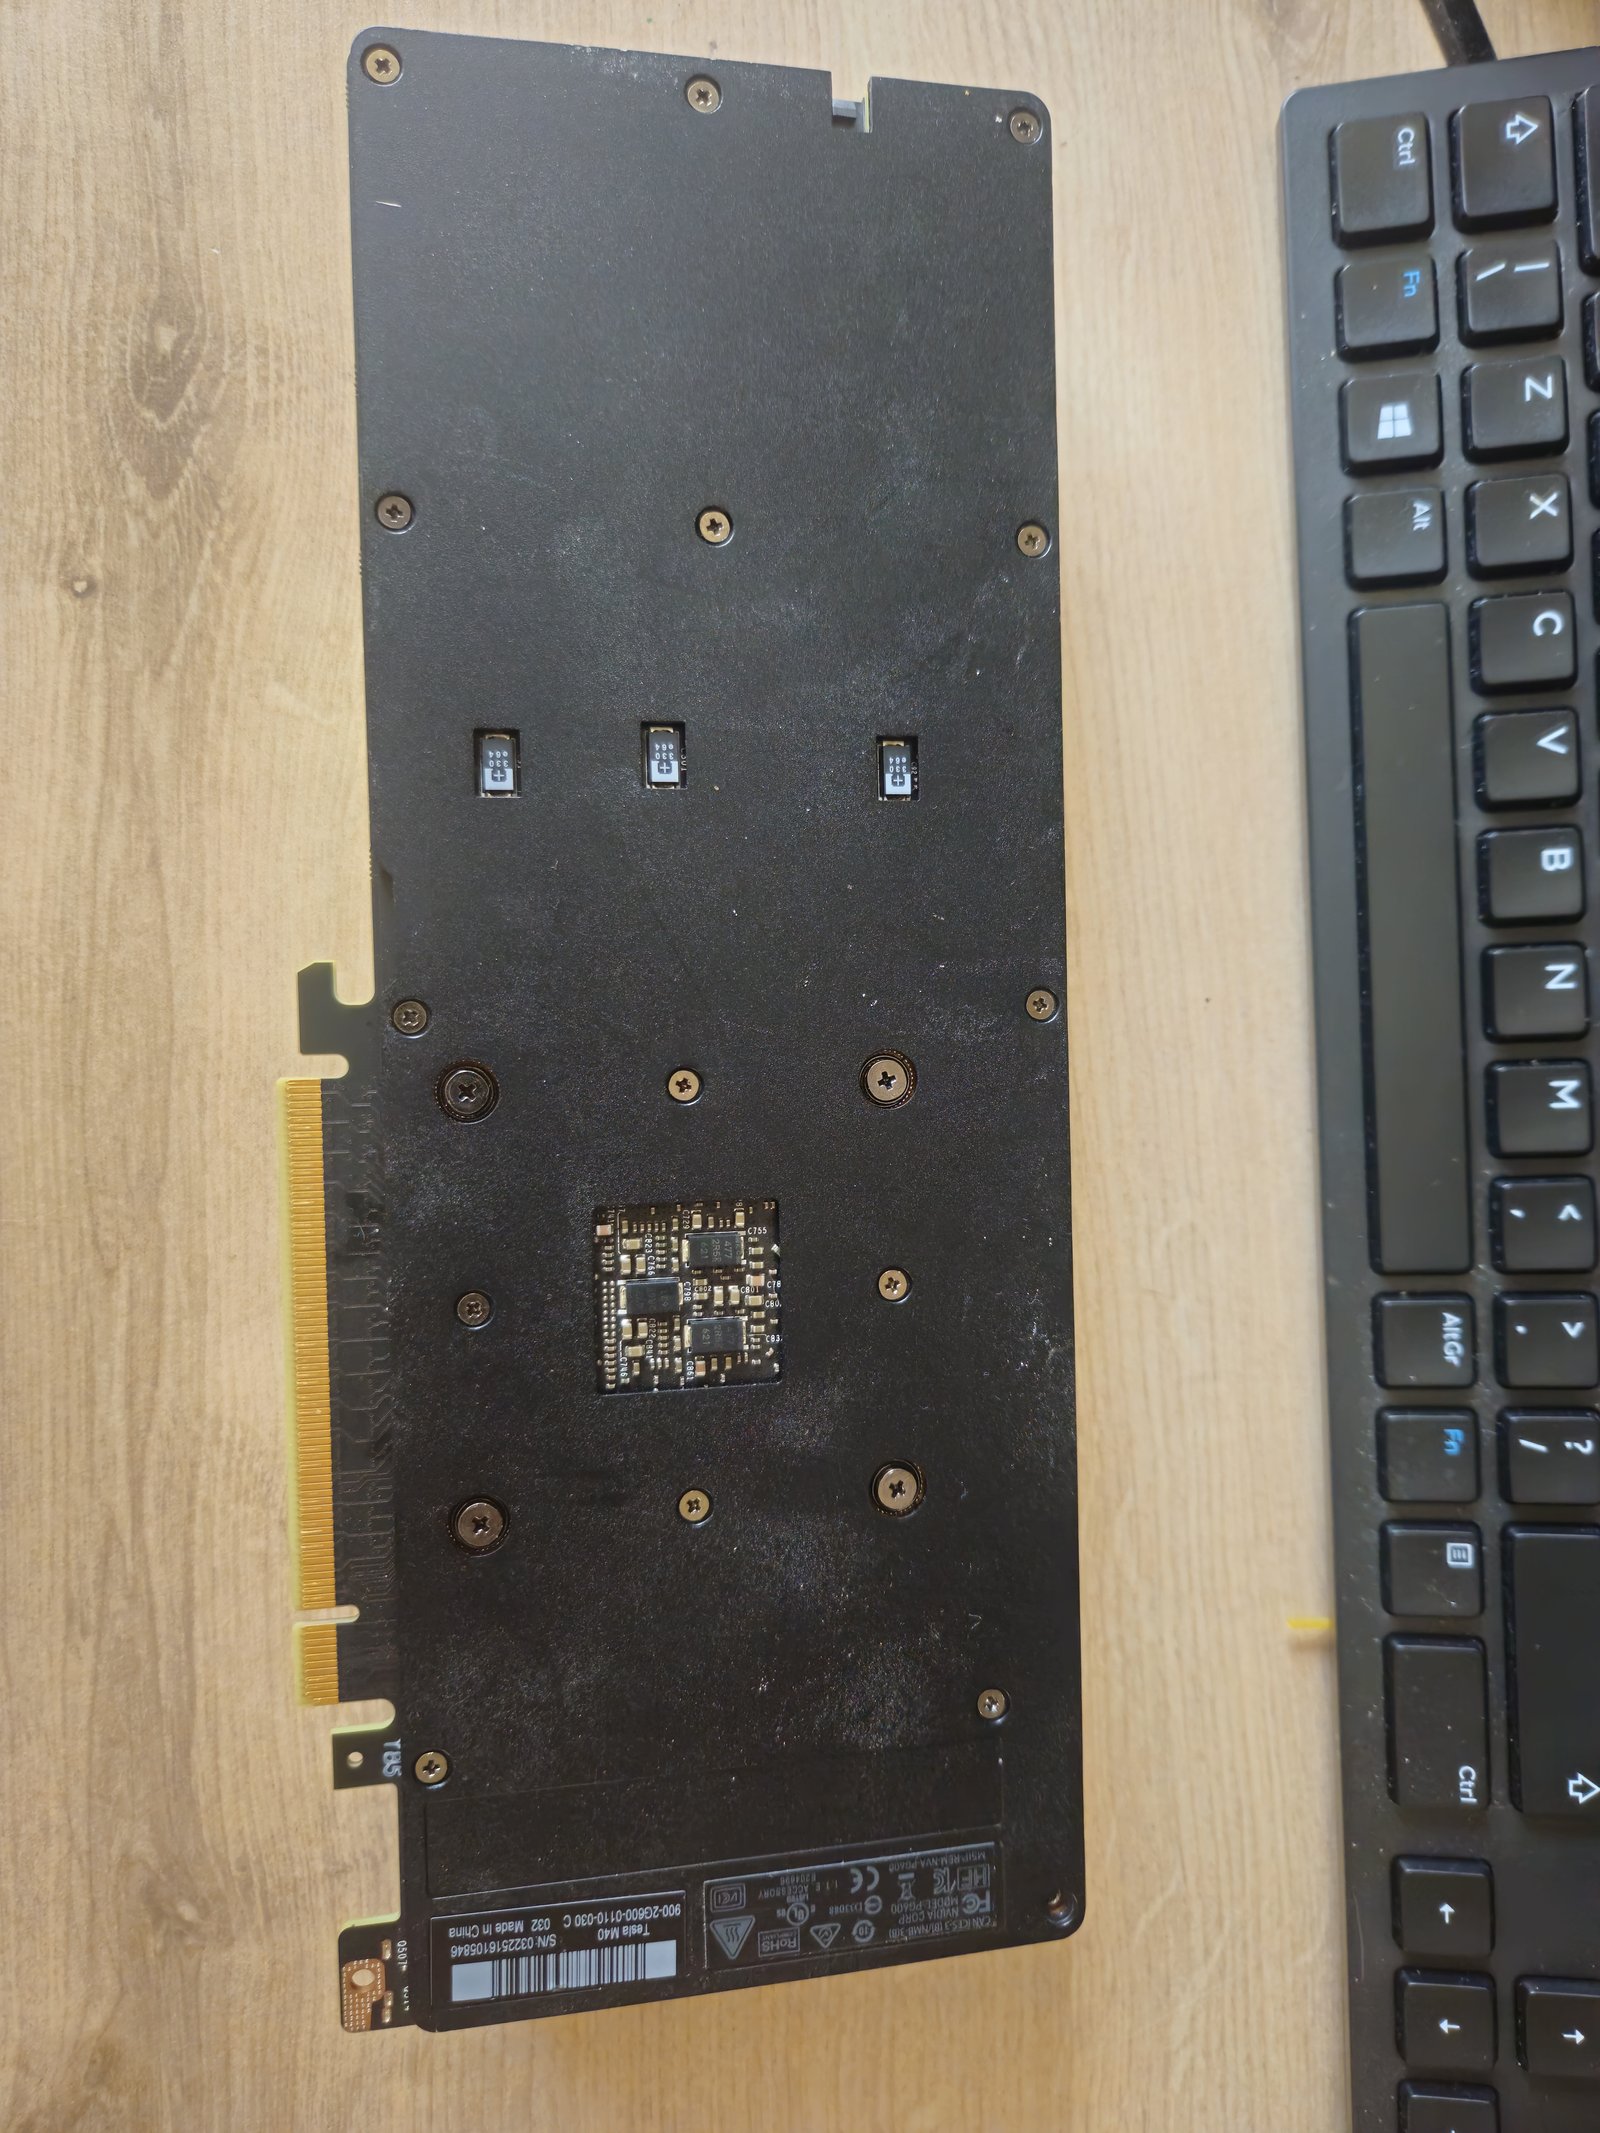
Back view. The small PCB peeking through the cut-out in the backplate is an auxiliary regulator board, keep track of those screws separately, it comes off with the backplate. The barcode and serial-number tag on the bottom edge is handy if you later need to cross-reference a BIOS or firmware file.
Stripping it down
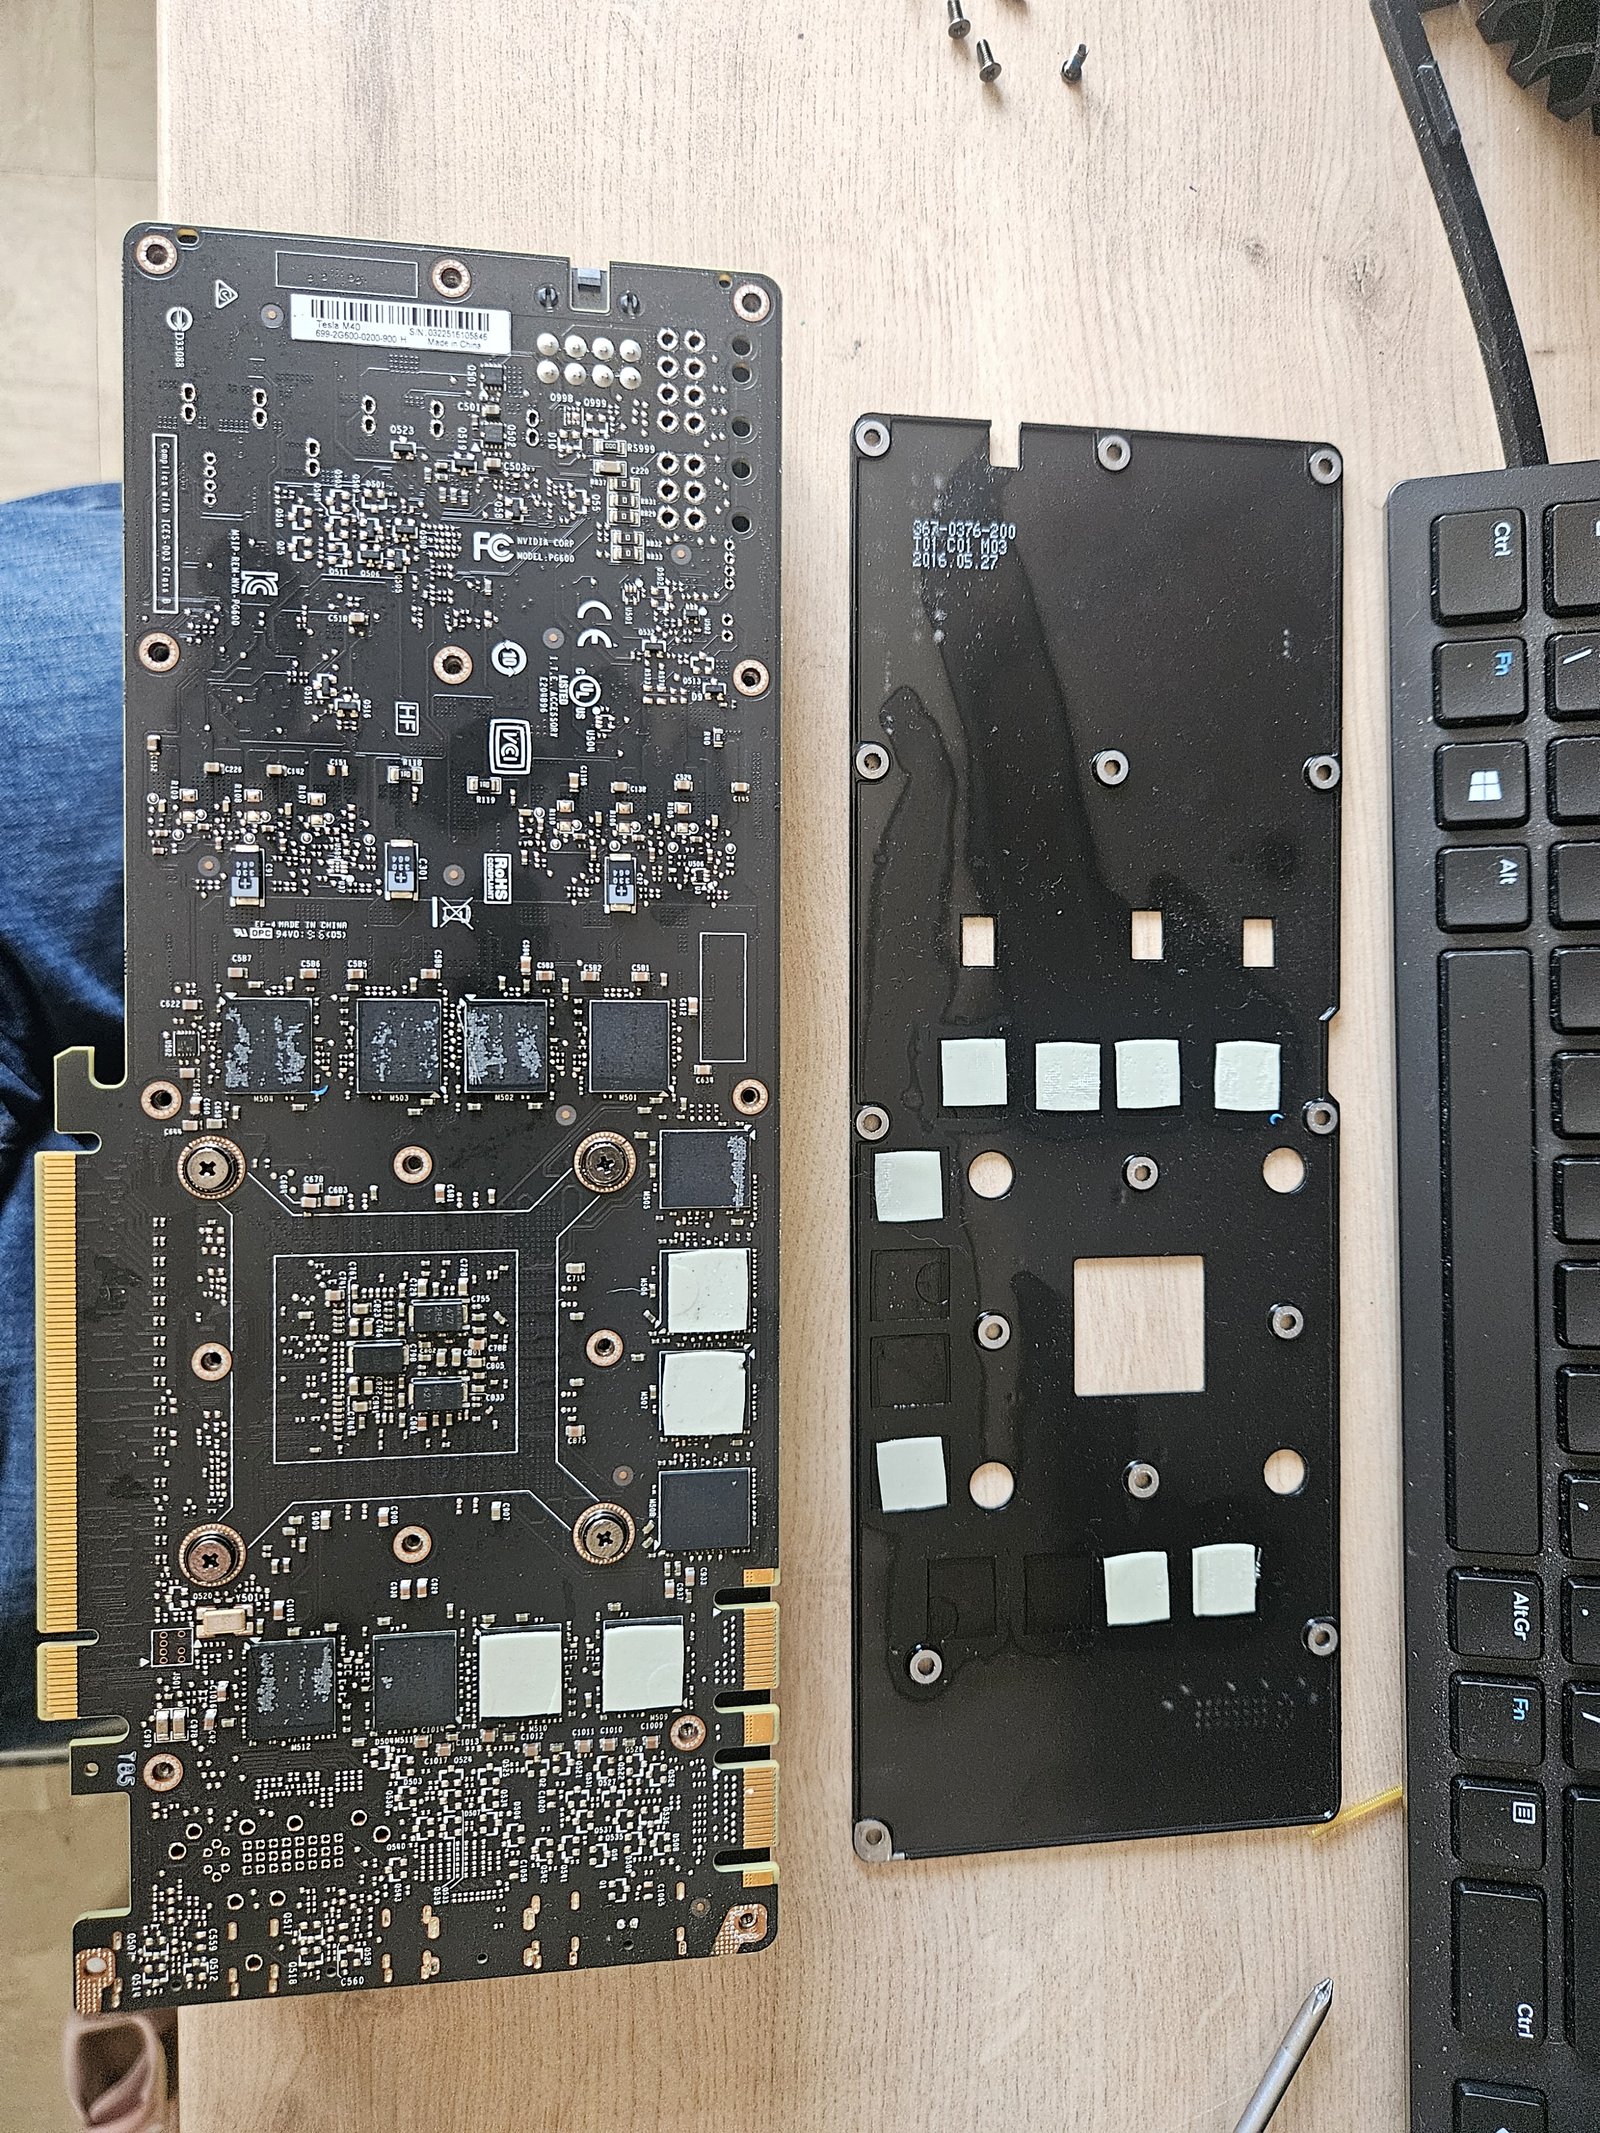
Once the backplate screws are out you can separate the PCB from the cooler. If there's any resistance, stop and check for missed screws, never force a cooler off a cold card, you'll tear pads and potentially lift a chip. The cold plate still has the original thermal pads on it, and you can see the "islands" where different chip groups (memory, VRMs) sit.
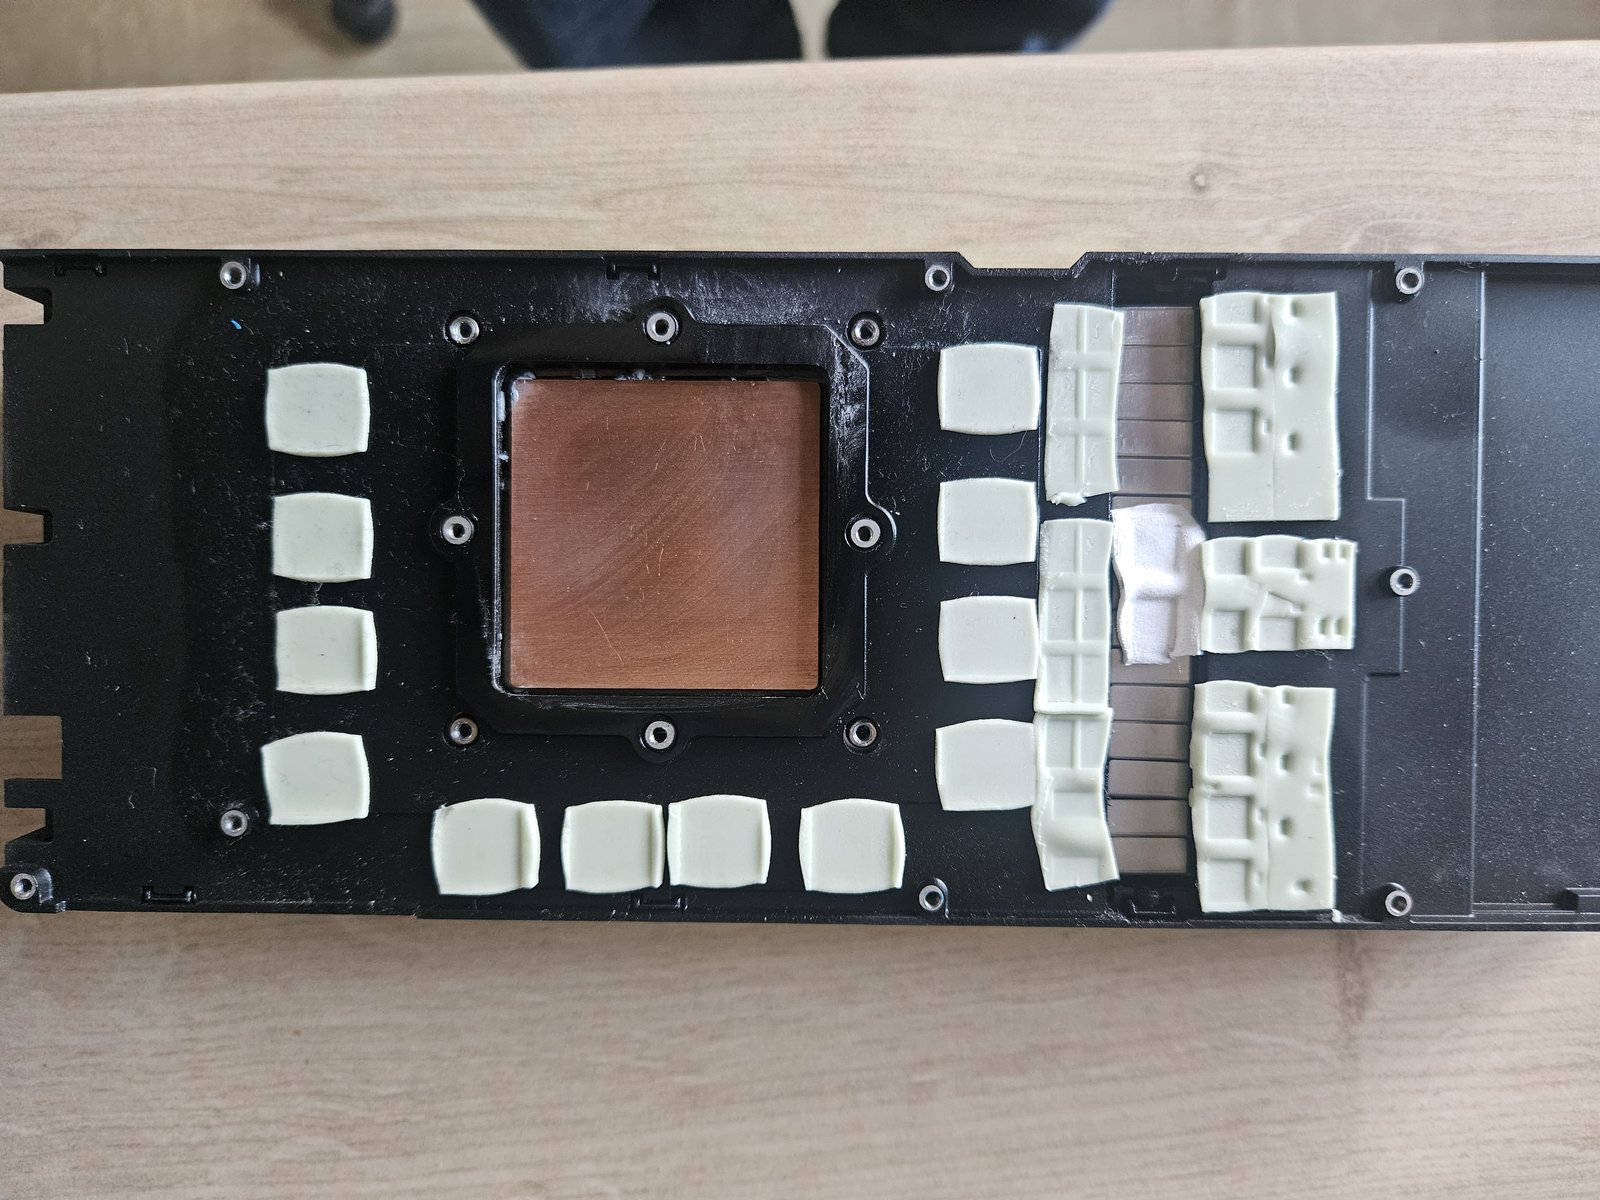
A proper look at the pad layout before we strip anything. Photograph this yourself before you peel anything off, you want to know exactly which thickness goes where when you reassemble. Count the pads: four for each bank of memory, a row for the VRMs, plus the smaller stuff around the centre. The copper area in the middle is the direct-contact section for the GPU die, that's the only part that gets paste, everything else gets pads.
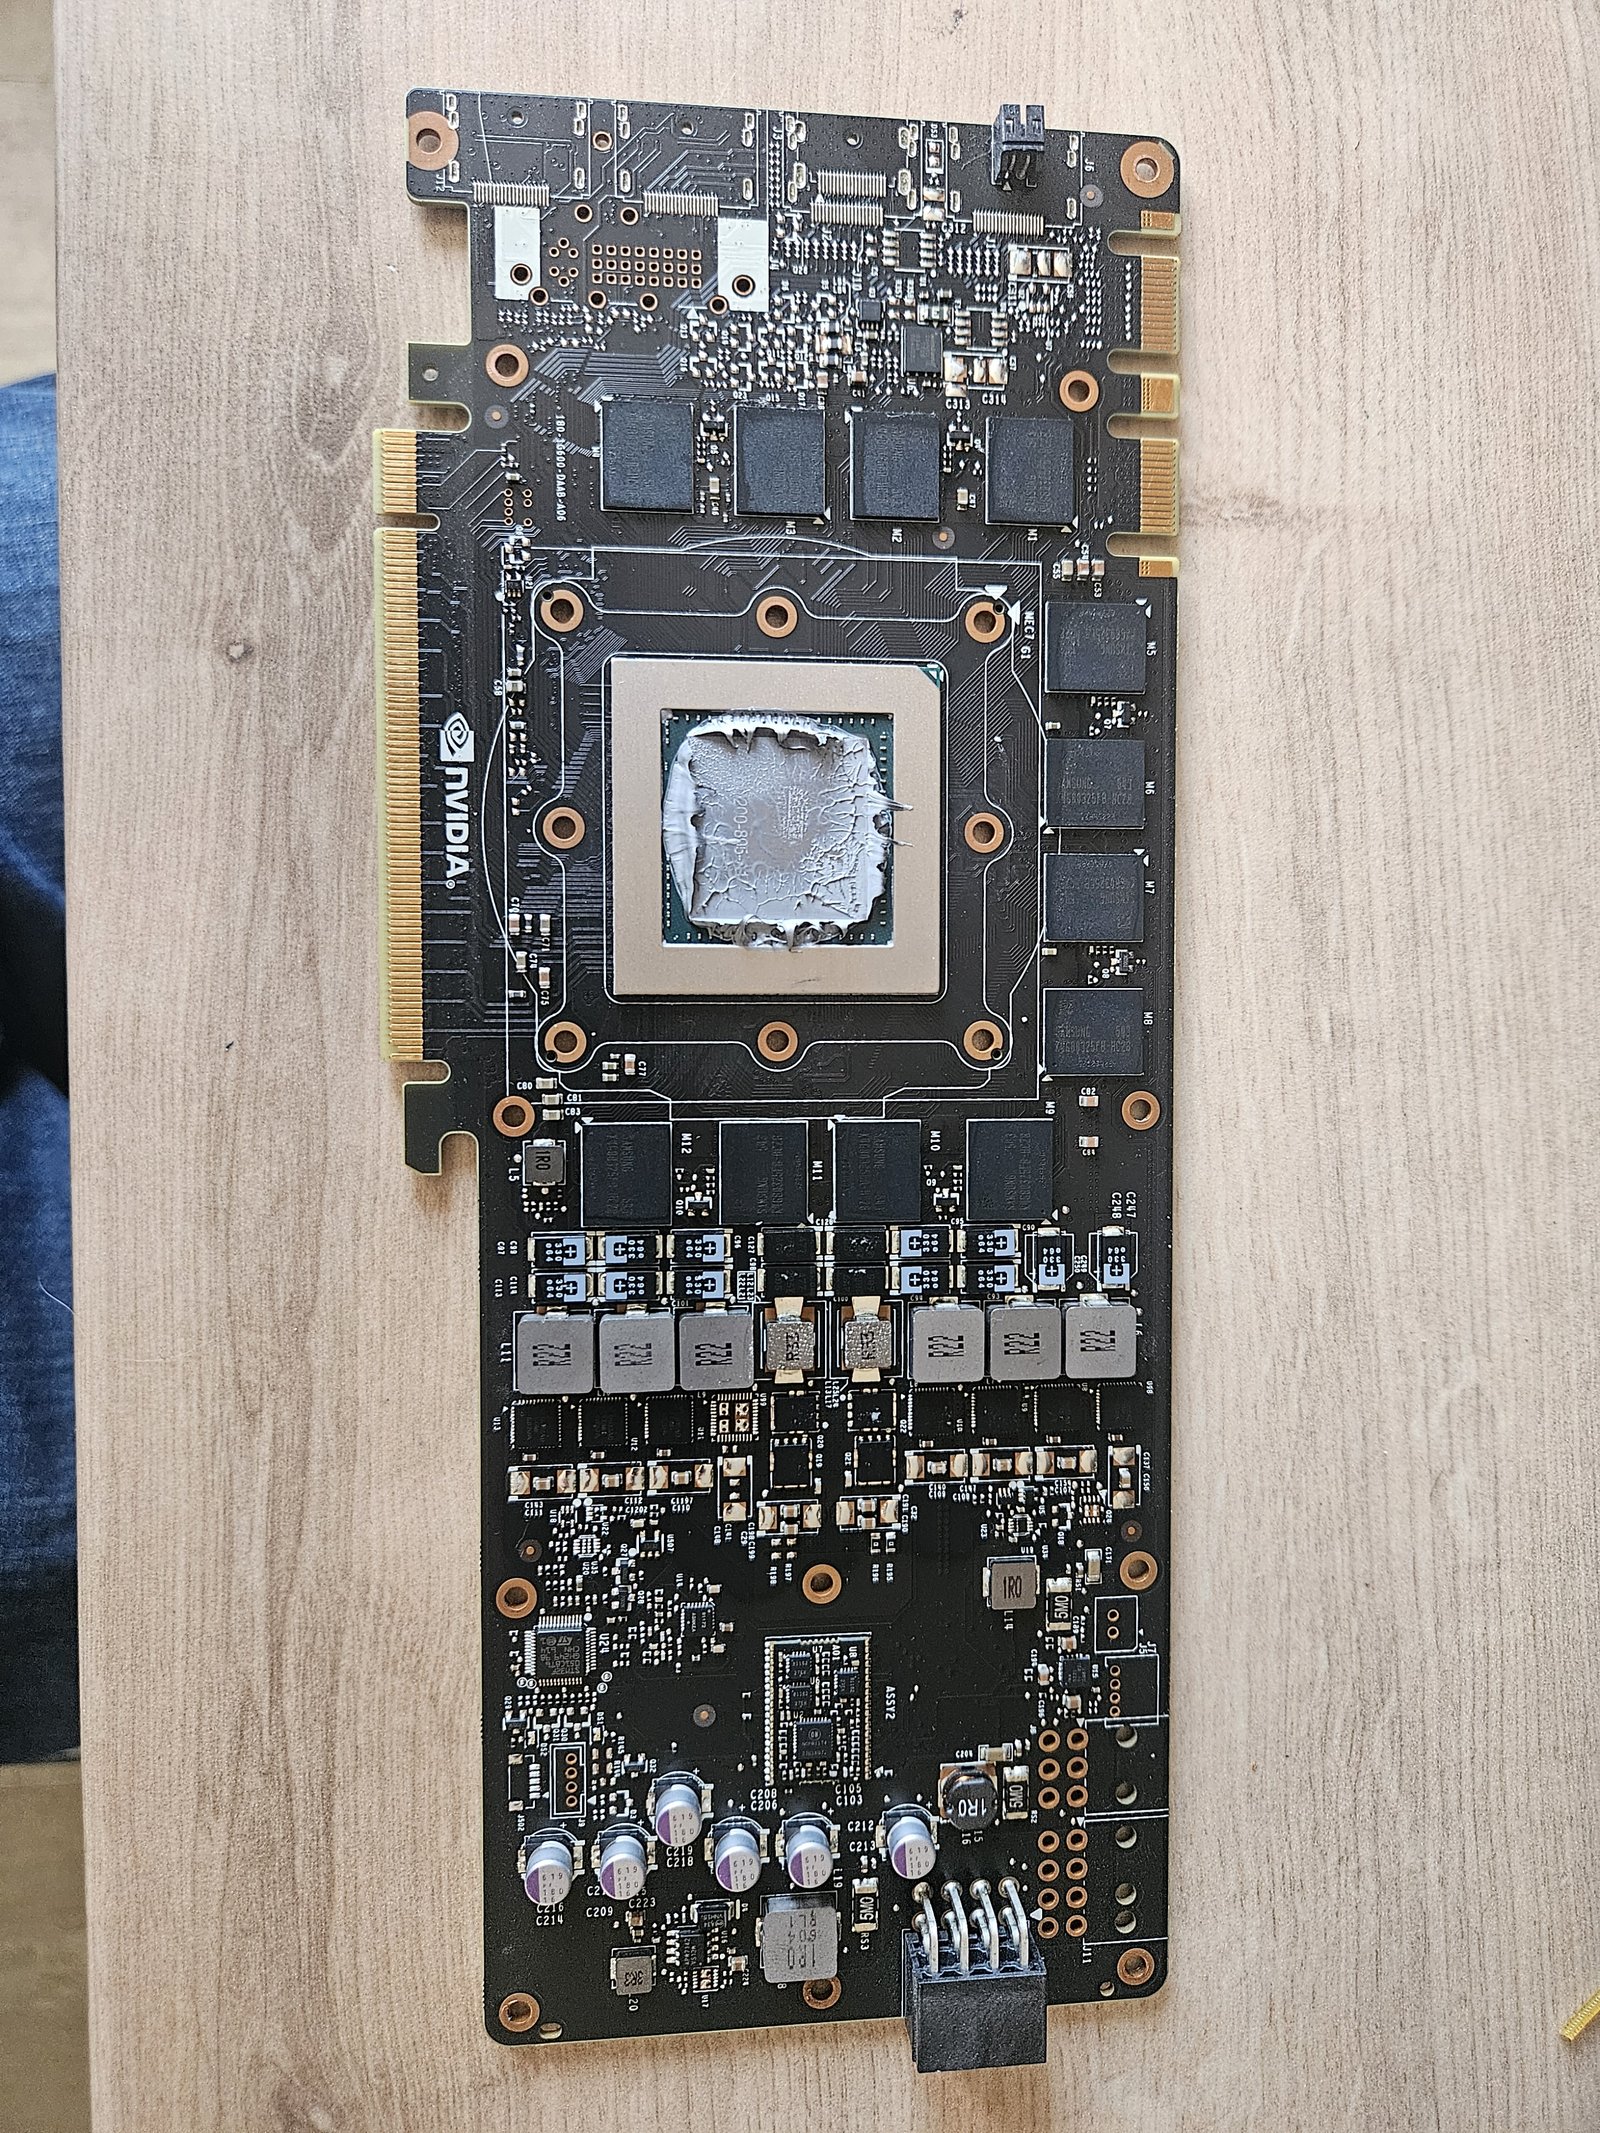
There's the reason we're here. Old factory paste on the die, visibly cracked across the middle where the pump-out has happened over years of heat cycles. You can clearly see the shape of the die underneath the dried TIM. A layer like this is essentially an insulator at this point, not a heat-transfer medium.
Cleaning up
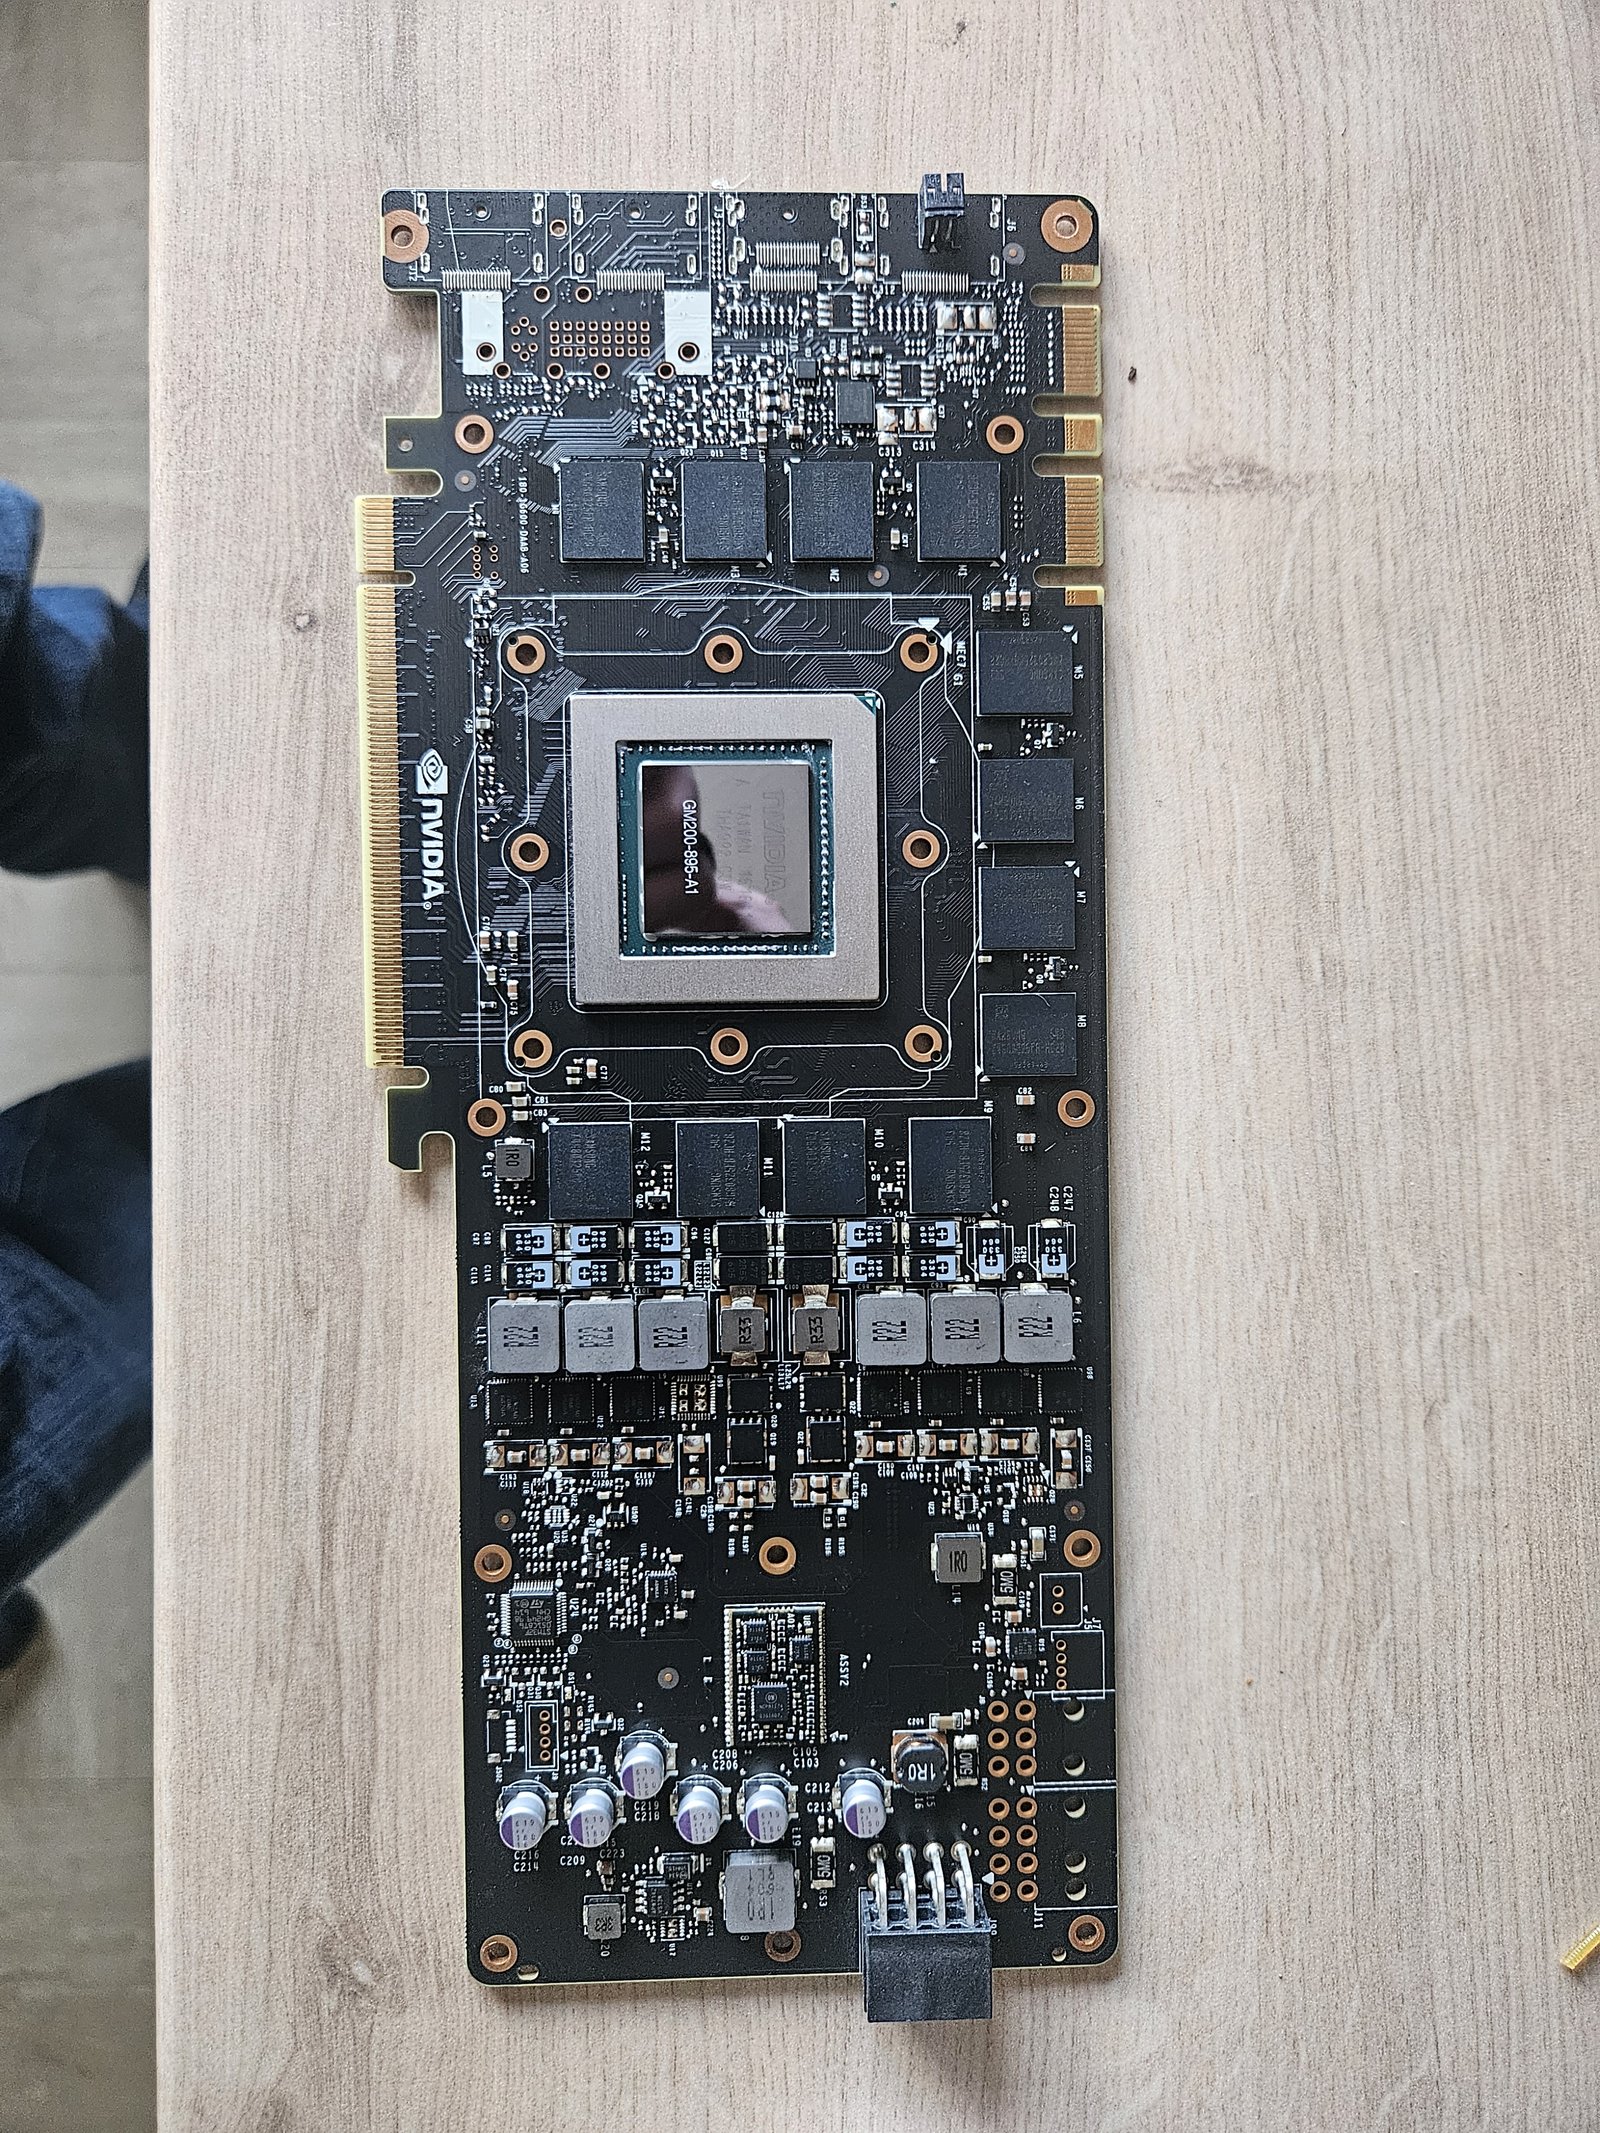
Isopropyl and lint-free wipes, patient work until the die and the surround are clean and dry. Don't use anything abrasive and don't let liquid run off into the surrounding components. Strip the cooler side at the same time, and peel the old pads off the cold plate so you've got clean flat surfaces to bond to.
Fresh paste and pads
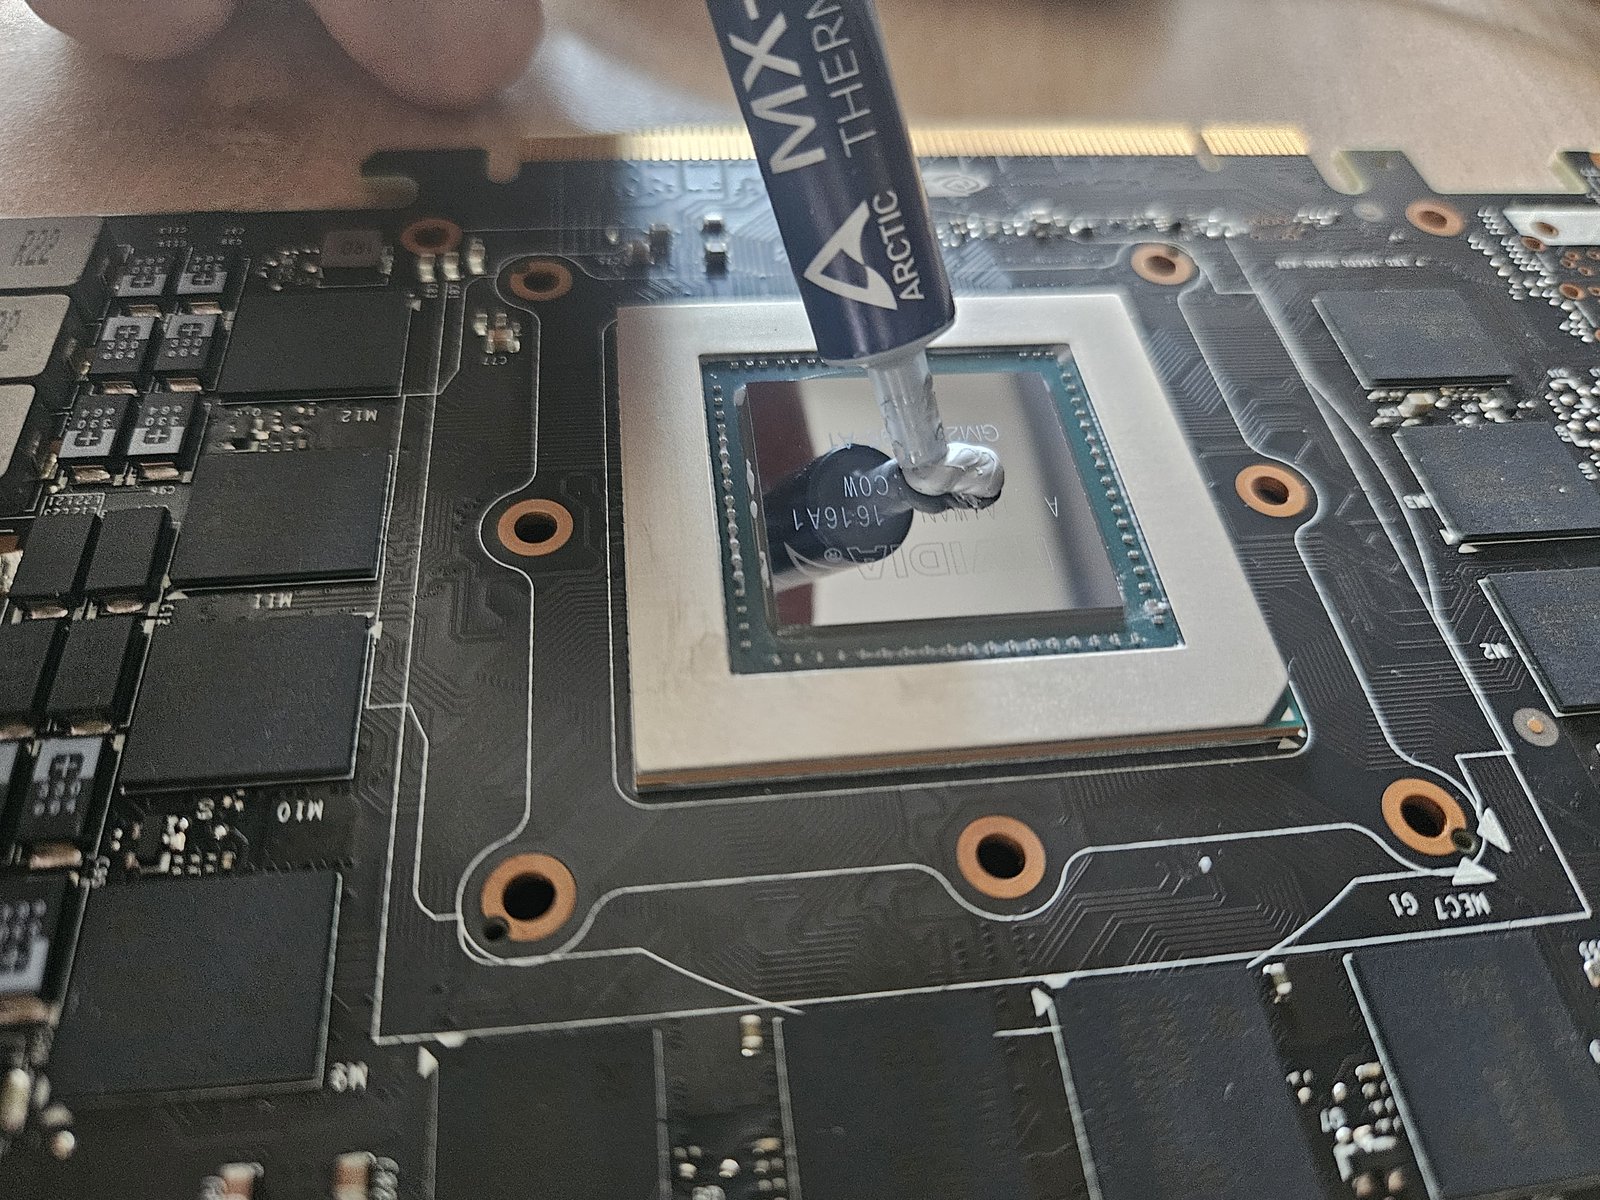
A small pea of Arctic MX-4 in the centre of the die. The heatsink pressure spreads it evenly across the surface when you torque the cooler back down, you don't need to spread it by hand, and trying to do so usually just introduces air bubbles. Don't overdo it either: too much paste acts as an insulator at the edges and can bleed over the die edge onto the substrate.
For the memory and VRMs, cut new thermal pads to match the old ones you photographed and peel them onto the cold plate. Check the thickness is right, a pad that's too thin won't make proper contact, a pad that's too thick will stop the cooler seating flat on the die.
Reassembly

Torque the cooler screws down in a cross pattern, not one corner at a time, this seats the cooler evenly on the die. Refit the backplate, re-seat the auxiliary regulator board, double-check nothing's pinched or fouling. That's the service done.
Test it
Put the card back in a system with proper airflow over the passive cooler, a single 120 mm fan zip-tied to the shroud is the standard home-lab fix. Load it up with something that actually exercises the GPU (a long ML workload, or gpu-burn / FurMark for a stress test) and watch the temps for at least 15–20 minutes.
For reference, the card in this write-up was hitting over 90 °C under sustained load in a Supermicro chassis before the service. After a fresh repaste and new pads it now peaks in the mid-70s °C in the same chassis, same workload, a drop of around 15–20 °C and, more importantly, temperatures that hold stable instead of climbing until the card throttles.
If it still throttles after a service, stop and investigate, airflow, pad thickness, or paste application are the usual culprits, in that order.
If you'd rather we did it
We repaste, repad and bench-test these cards regularly. Post yours to us, we'll service it, stress-test it for a few hours and return it ready to go. Full details on the electronics repair page, or drop a note via contact.