
Sega Game Gear recap: flickering screen and no sound, fixed on the original LCD
This Game Gear was bought new in 1991 and had never been opened. By the time it reached us it would switch on and light the red power LED, but that was about all it did properly. The screen flickered in horizontal bands and swung between very dim and very bright. Turning the contrast wheel brought faint glimpses of the start screen, and then they faded again. There was no sound at all, from the speaker or through headphones, and at first it would power on and then cut out.
The owner had nearly thrown it away. They booked a full recap, asked us to keep the original Sega screen if we possibly could, and asked to hear from us before anything chargeable beyond the recap.
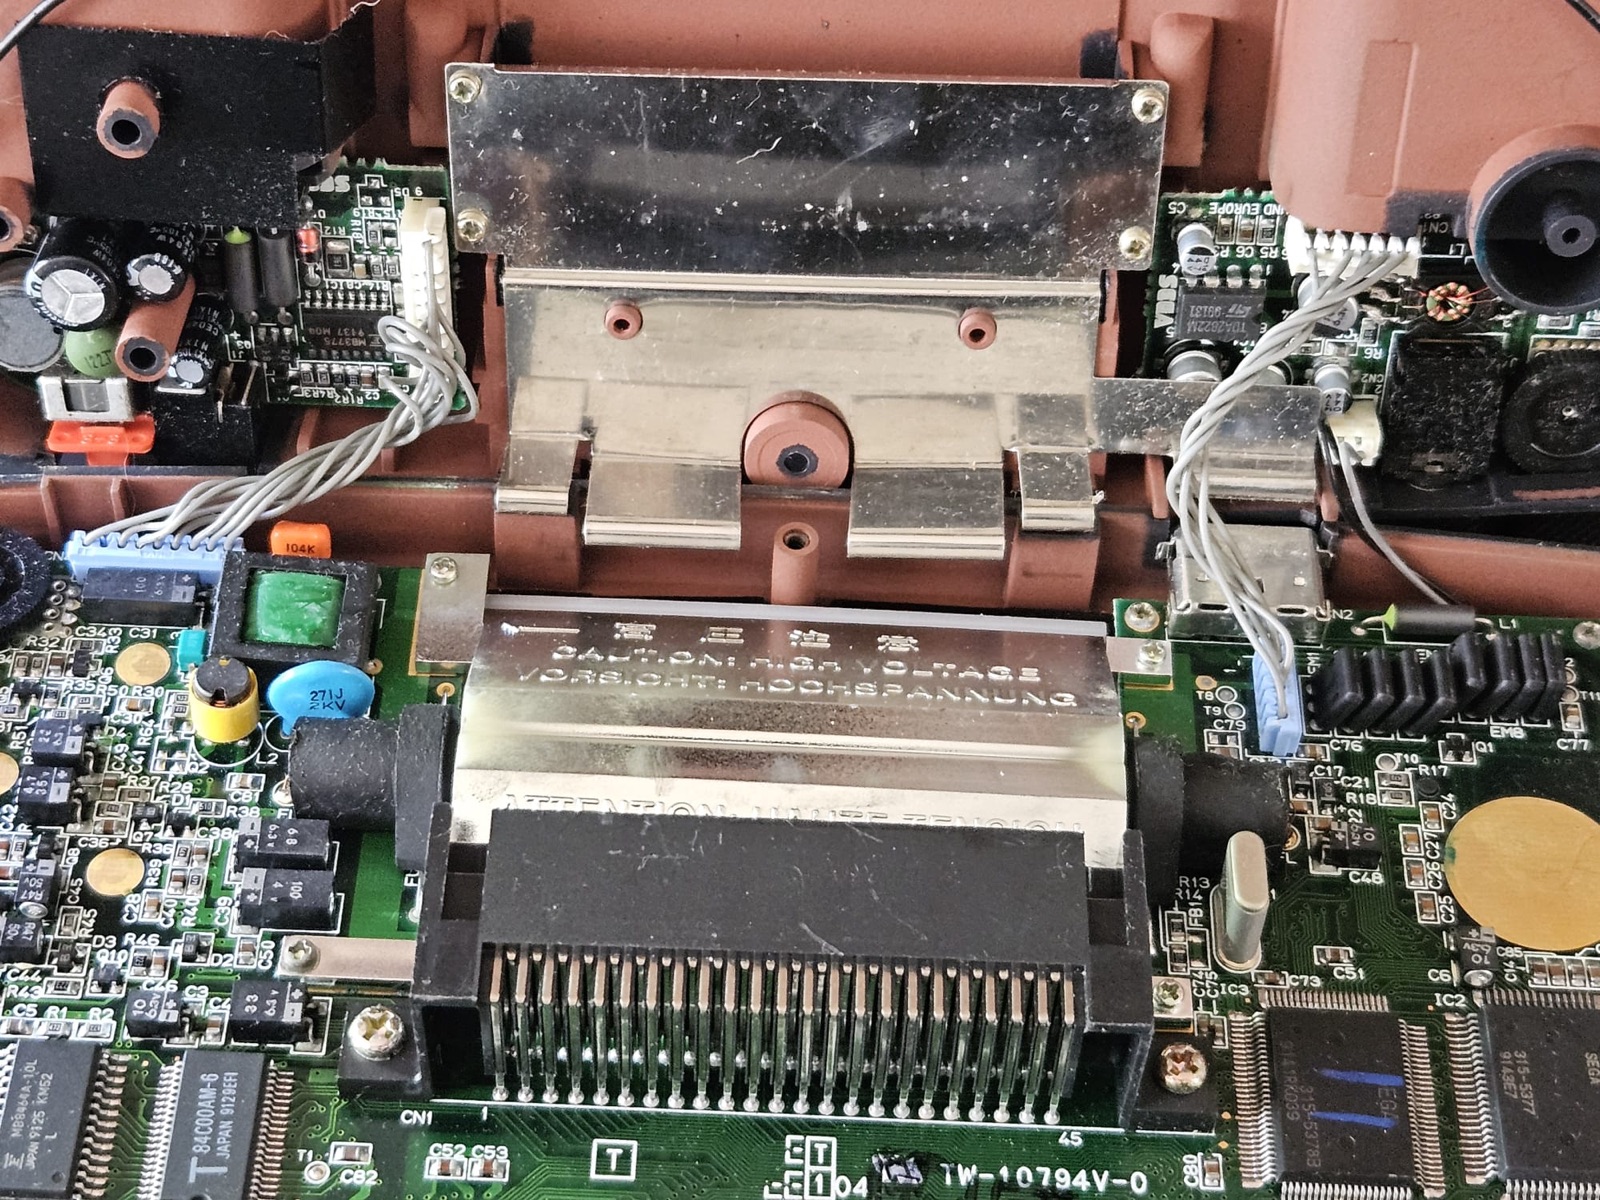
Opened up: main board at the bottom, power board top left, sound board top right.
Clean on the outside, leaking underneath
On first look the inside was remarkably clean. No crusty residue, no green corrosion, none of the usual warning signs. It would have been easy to assume the capacitors were fine.
They were not. The first few we tested were already out of specification, and once the old capacitors came off, the evidence was underneath them. Electrolyte had leaked under the cans where you cannot see it with the parts in place. On one position it had eaten away a ground pad completely, so there was nothing left for the new capacitor to solder to.
That is the Game Gear's well-known weakness. Its original surface-mount electrolytics dry out and leak with age, and the display drive and the audio circuit both depend on them. A dim, unstable picture and dead sound together are exactly what failing capacitors look like on this console.
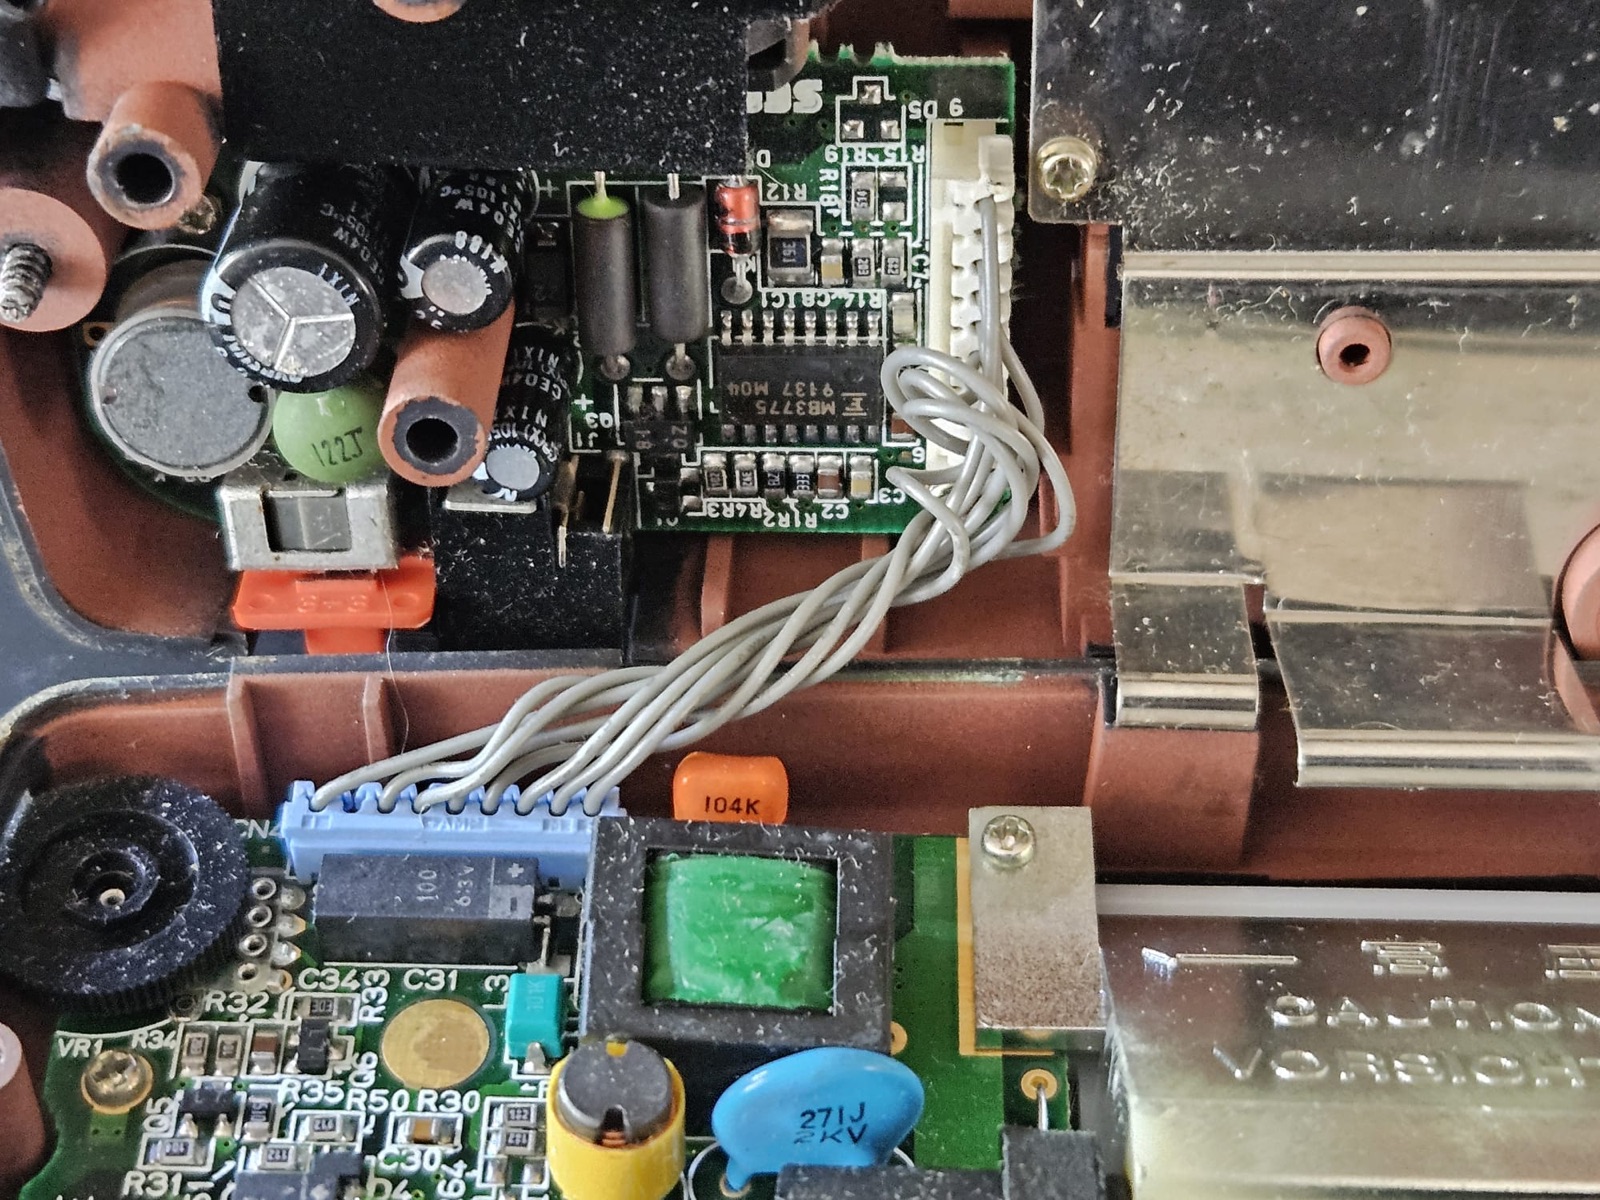
The power board, built around a Fujitsu MB3775 switching regulator controller.
The repair
- Replaced every electrolytic capacitor on the main board, the power board and the sound board, not just the ones linked to the symptoms.
- Cleaned and neutralised the leaked electrolyte from the boards.
- Fitted a small bridge wire where the ground pad had been eaten away, so the new capacitor has a solid ground connection rather than sitting on damaged copper.
- Powered it up and tested picture, sound and power.
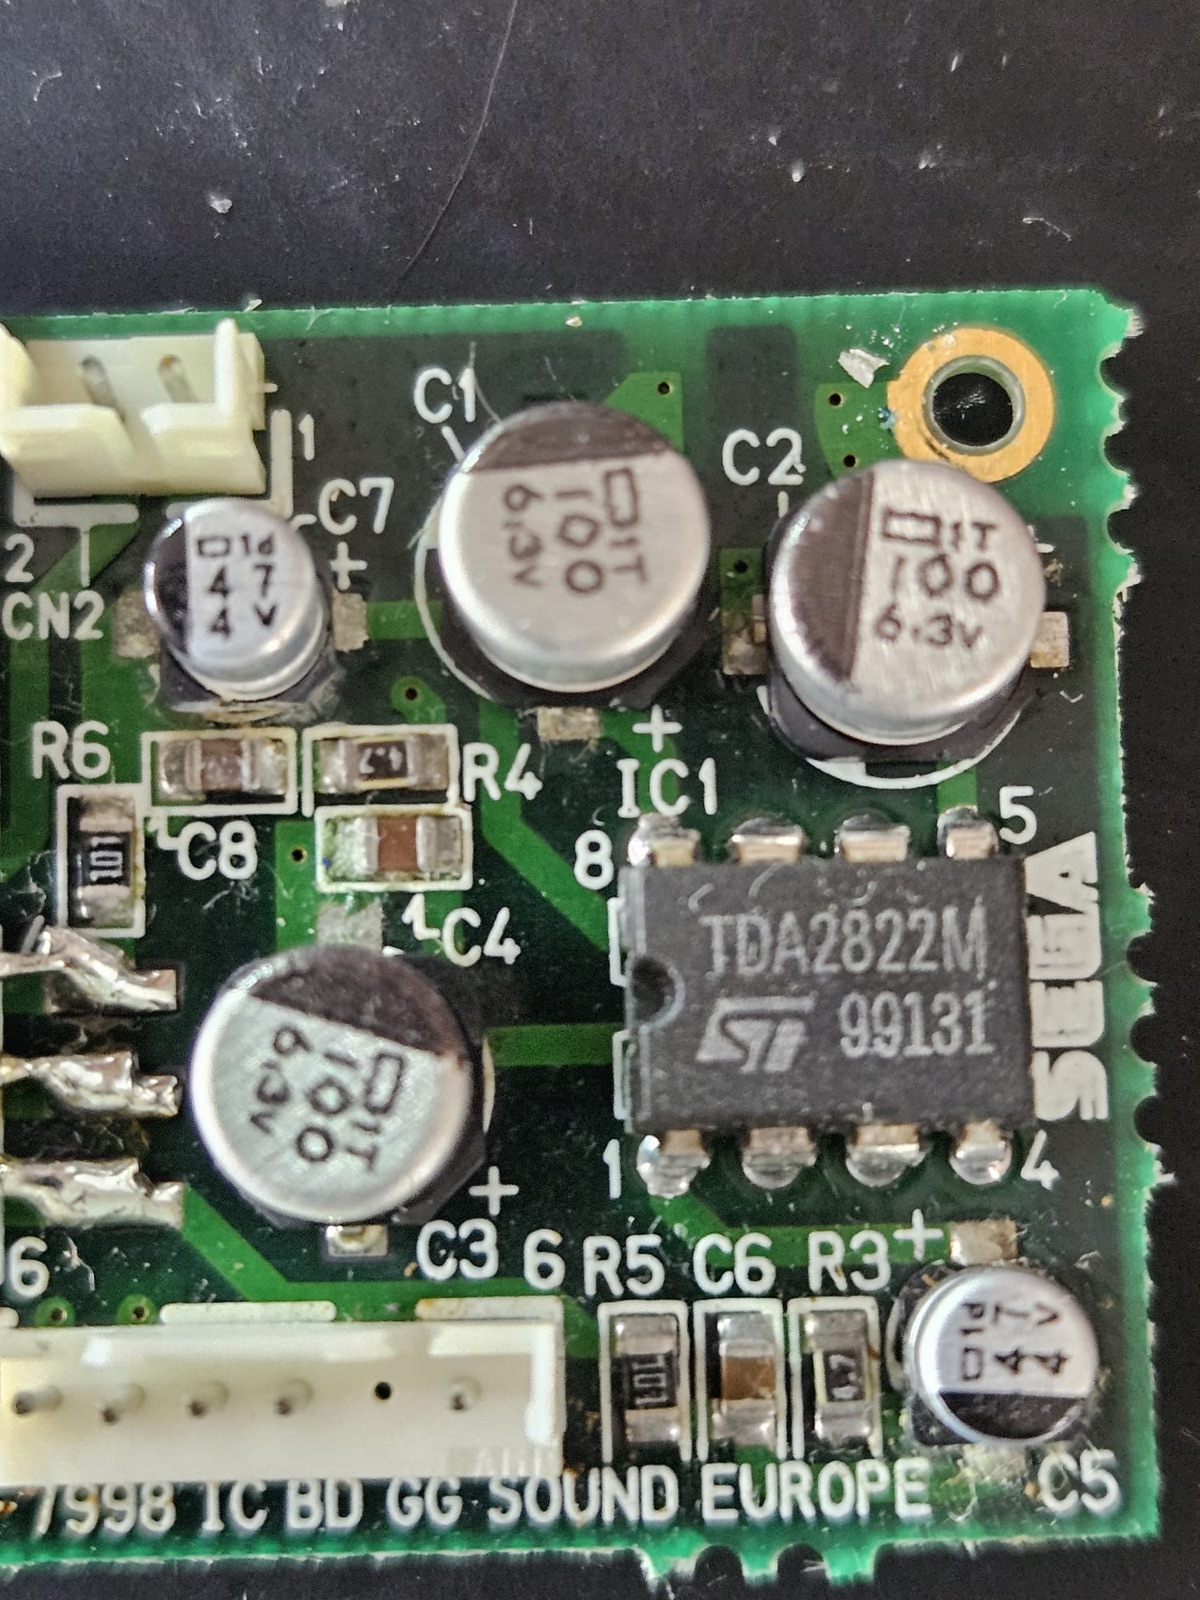
The European sound board and its TDA2822M amplifier, which drives both the speaker and the headphone socket.
Result
Everything worked. The power LED stays steady, the screen shows a normal, stable picture, and the sound is back on both the speaker and headphones. The original Sega LCD is still fitted, exactly as the owner wanted, and the old capacitors went back in the box so they could see what came out.
It went on the bench the day it arrived and was working that afternoon. It was posted back by Royal Mail Tracked 24 the same day the balance was paid.
Should you fit an IPS screen?
The owner asked whether they should upgrade to an IPS screen while it was open. On this one we said no. An IPS kit gives a brighter, sharper picture, but fitting one means cutting away part of the inside of the case with a rotary tool, and 30-year-old plastic can be brittle enough to crack. The original screen was working well again, and keeping it keeps the console as it was sold in 1991. We will always tell you when an upgrade is not worth the risk.
One thing worth knowing if you have lost the original power supply: the Game Gear needs 9V DC with a centre-negative plug. Many generic 9V adapters are centre-positive, and using the wrong polarity can damage the console.
Got a Game Gear or Game Boy that has gone dim, silent or dead? See our Game Gear and Game Boy recap service, a fixed price with tracked return postage included.